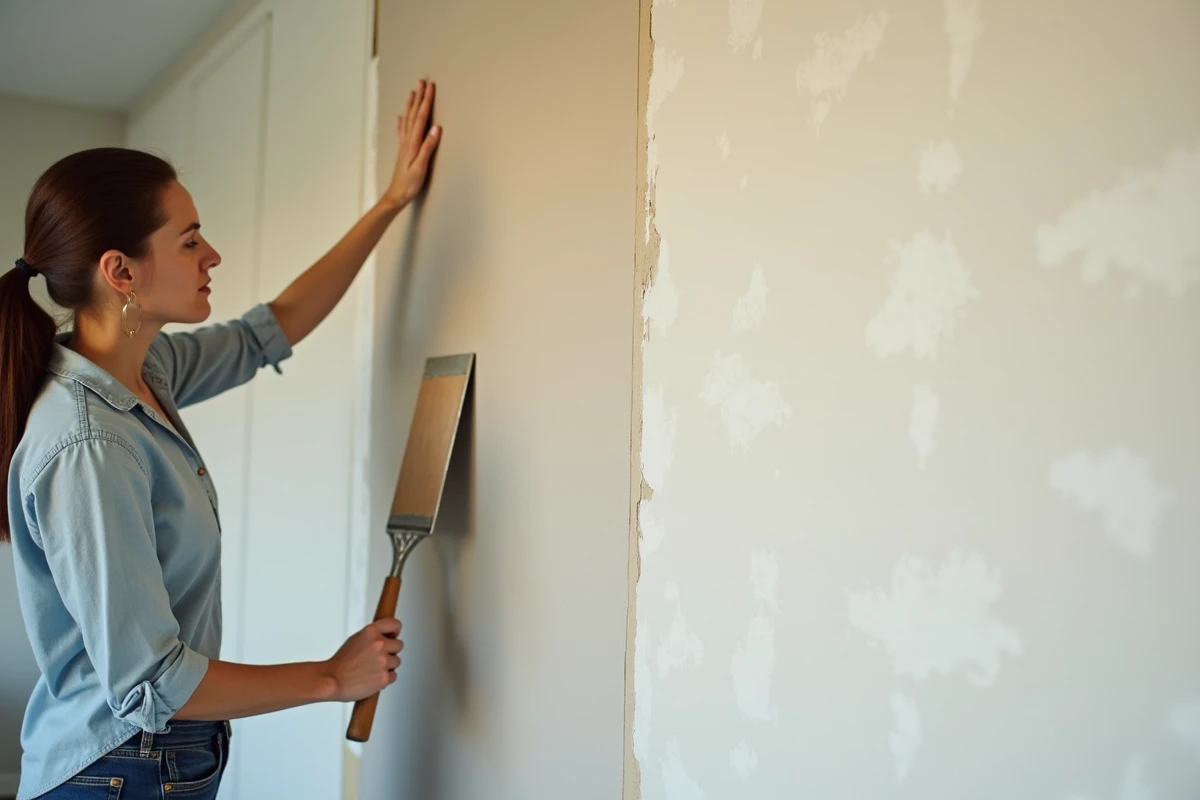
Plasterboard does not tolerate any excess moisture. The slightest mistake in applying the glue can lead to quick peeling of the wallpaper or persistent blisters. Yet, some coverings adhere perfectly without a primer, provided that specific steps are followed and the right tools are used.
Primer is not always essential, but neglecting the preparation of the surface exposes you to disappointing results. Adopting a rigorous method and relying on proven tips ensures a durable and neat finish, even on new or delicate surfaces.
Understanding the specifics of plasterboard for a successful installation
Plasterboard is a staple in modern interiors. However, it does not let anything pass: its surface absorbs everything, and the slightest mistake is unforgiving. Too much water in the glue, and peeling is guaranteed. Too little preparation, and adhesion collapses. Working on wallpaper hastily applied to a porous plaster wall means chasing after blisters and premature peeling.
A well-prepared surface is essential. Applying a primer is not optional if you aim for a lasting installation. This step retains the glue on the surface, protects the plaster from impacts, and gives the wallpaper a chance to hold. Too often, this step is overlooked, and the walls suffer. On a new partition, this initial care makes all the difference. When well applied, the wallpaper then offers unexpected resistance against everyday bumps.
To succeed, one certainty: installing wallpaper on plasterboard cannot be improvised. The techniques for applying wallpaper on plasterboard require attention to detail. A perfectly smooth wall, free of any dust, a thoughtful choice of wallpaper type according to the room, and meticulous preparation: these are the keys to impeccable walls and invisible seams, even on brand new plasterboard.
What preparations are essential before applying wallpaper?
Preparing a plasterboard wall is not a matter of chance. Every step counts, and every tool has its role. Success depends on the care taken at the base. First, check the condition of the wall: it must be sound, dry, and perfectly flat. The slightest trace of moisture or mold must be addressed immediately. A diluted bleach solution is sufficient in most cases, but monitoring remains necessary to prevent any recurrence of the problem.
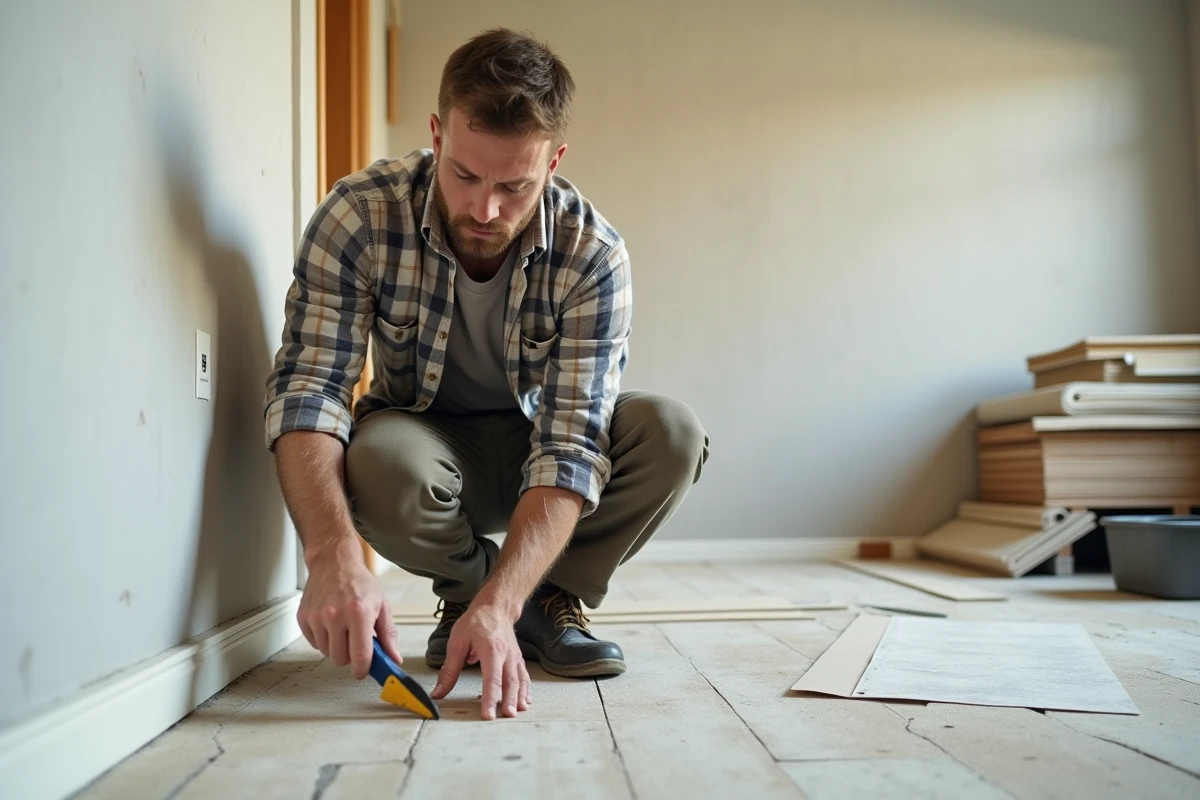
Before starting the installation, it is essential to prepare the workspace. Here are the precautions to take:
- Protect the floor and furniture with a plastic sheet to avoid any dirt or glue splashes,
- Wipe the entire surface with a damp cloth or sponge to remove dust and grease stains,
- Remove any old covering using a remover if necessary,
- For holes, cracks, or irregularities, apply a filler and, for more significant defects, a tape to ensure perfect durability over time.
After these initial operations, the surface must be made uniform. A light sanding ensures that the glue will adhere evenly everywhere. The application of a primer is then essential: it isolates the plaster, slows down glue absorption, and prepares the ground for a clean installation.
A small detail that changes everything: leave the wallpaper in the room for 24 hours before installation. This acclimatization time allows the material to adapt to the room’s humidity and temperature, thus limiting the risks of shrinkage or warping after gluing. Every preparation step, no matter how simple, impacts the final result: a wall that remains straight and a decoration that stands the test of time.
Detailed steps and tips for easily applying wallpaper on plasterboard
Choosing the right type of wallpaper for your surface
The choice of wallpaper should not be left to chance. On plasterboard, certain models make installation much more accessible. Non-woven wallpapers, for example, are appealing for their durability and ability to hide small imperfections in the wall. For rooms exposed to moisture, such as the kitchen or bathroom, vinyl is a must: it withstands steam and splashes without flinching. Want to change color without a complete overhaul? Paintable wallpaper offers this flexibility, masking imperfections while opening up possibilities for decoration.
Tools and setup
Before starting, gather the accessories that will make the installation easier and more precise. Here’s what you need:
- Wallpaper glue suitable for the chosen model,
- Roller or brush to spread the glue evenly,
- Utility knife for clean and precise cuts,
- Plumb line or level to ensure straight walls and perfect joints,
- Squeegee or spatula to smooth the wallpaper and eliminate any air bubbles.
On plasterboard, precision in cutting and initial adjustment facilitates pattern alignment and the flatness of the covering. Careful work from the start avoids many disappointments during the final installation.
Application: method and tips
Applying wallpaper requires method and attention. Depending on the type chosen, apply the wallpaper glue to the wall (for non-woven) or to the back of the strip (for traditional wallpapers). Always start at the top of the wall, allowing it to slightly overlap at the top and bottom, then adjust the cut at the end, once the wallpaper is well smoothed.
Work strip by strip, paying attention to the junction between each strip. The edges should touch without ever overlapping. For long strips or repetitive patterns, working in pairs simplifies the task and avoids alignment errors.
During the smoothing process, start from the center and push the air towards the edges to avoid bubble formation. As long as the glue hasn’t dried, some adjustments are still possible. Then allow to dry at room temperature, away from drafts, to ensure a result without wrinkles or shrinkage.
A perfectly wallpapered plasterboard wall promises a transformed interior, where the care taken at each step is evident in every joint. The difference lies in the details: it’s up to each person to write the next chapter, roller in hand.